


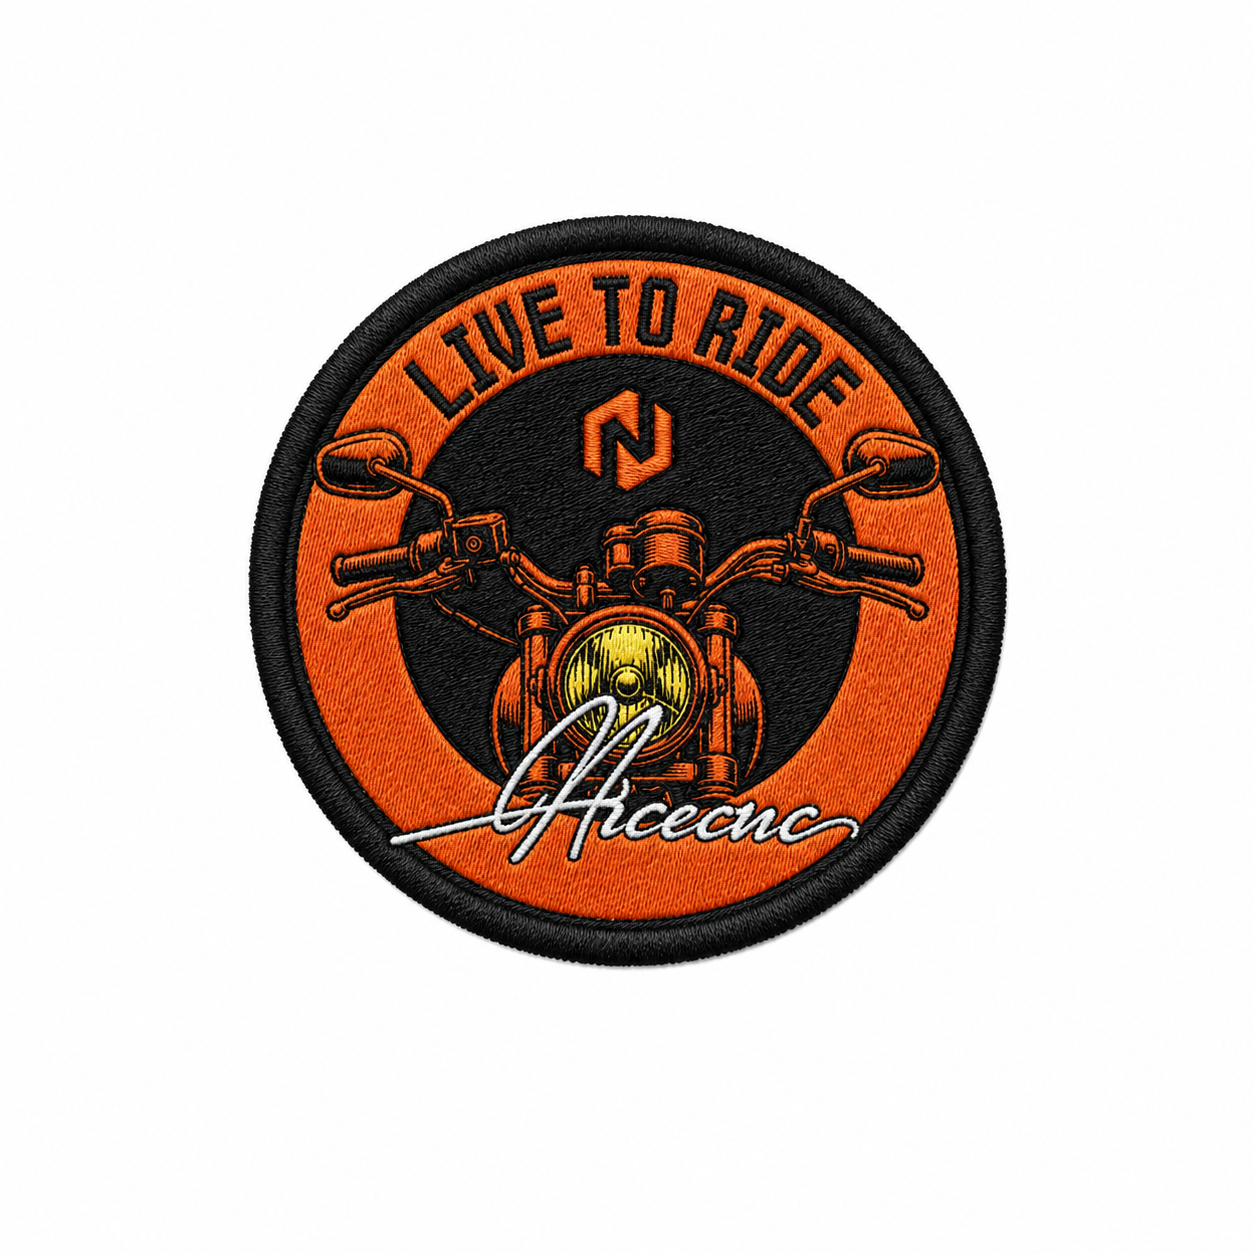
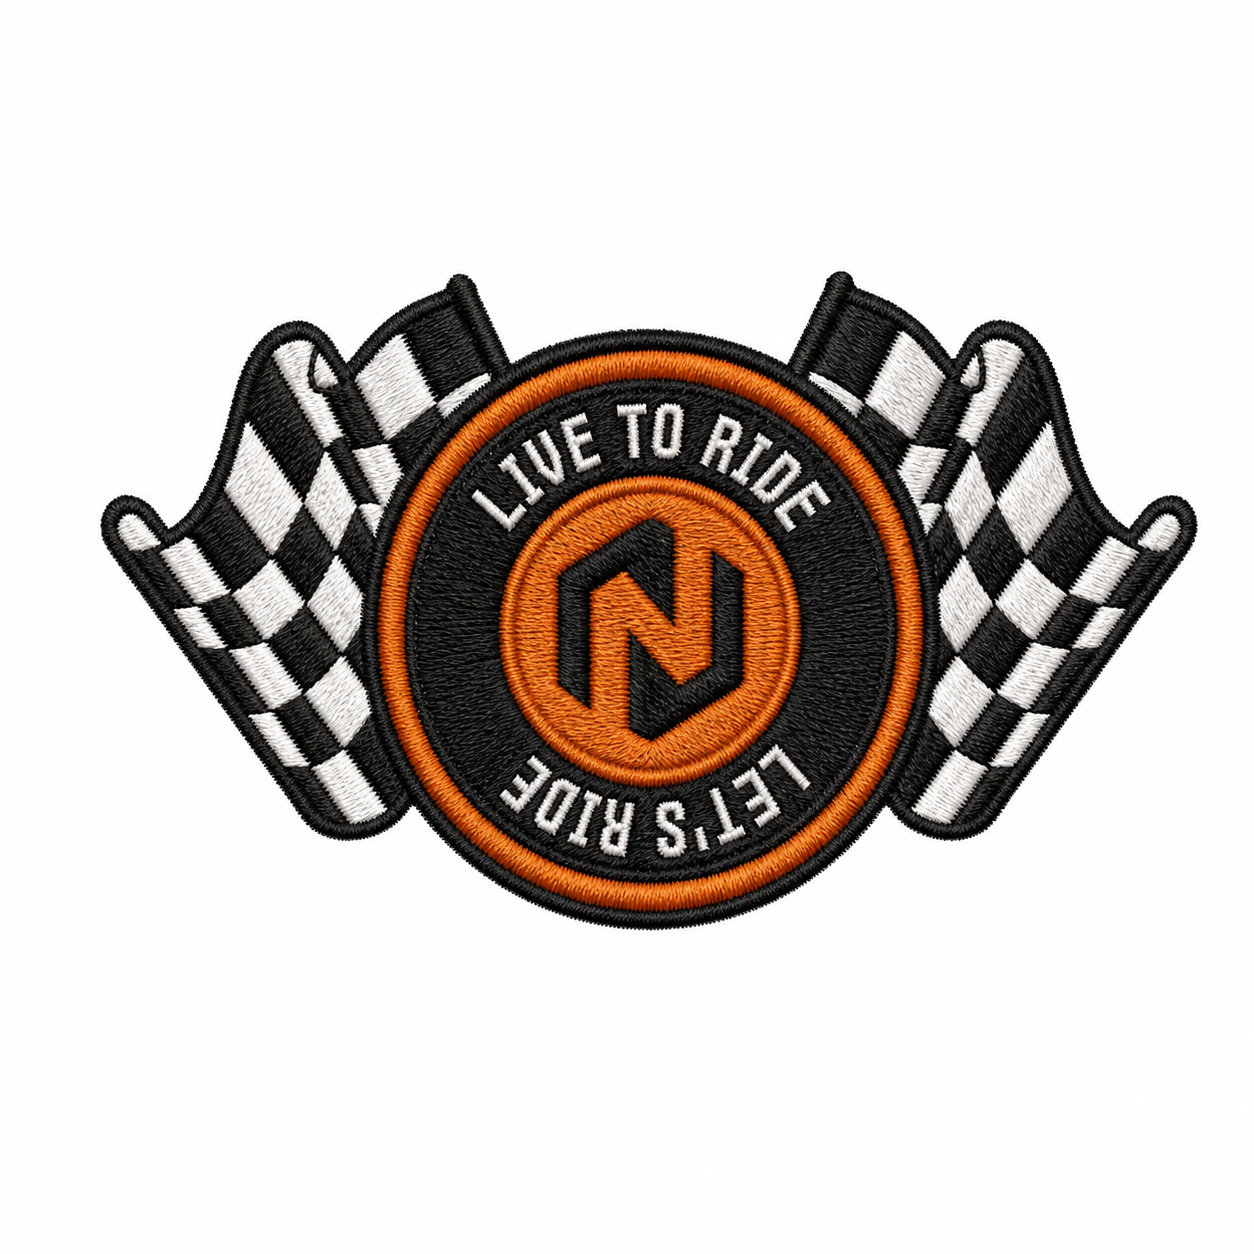
🏎️ NICECNC Official Exclusive Merch | Embroidered Patches
Features:
-
ICONIC RIDER ATTITUDE
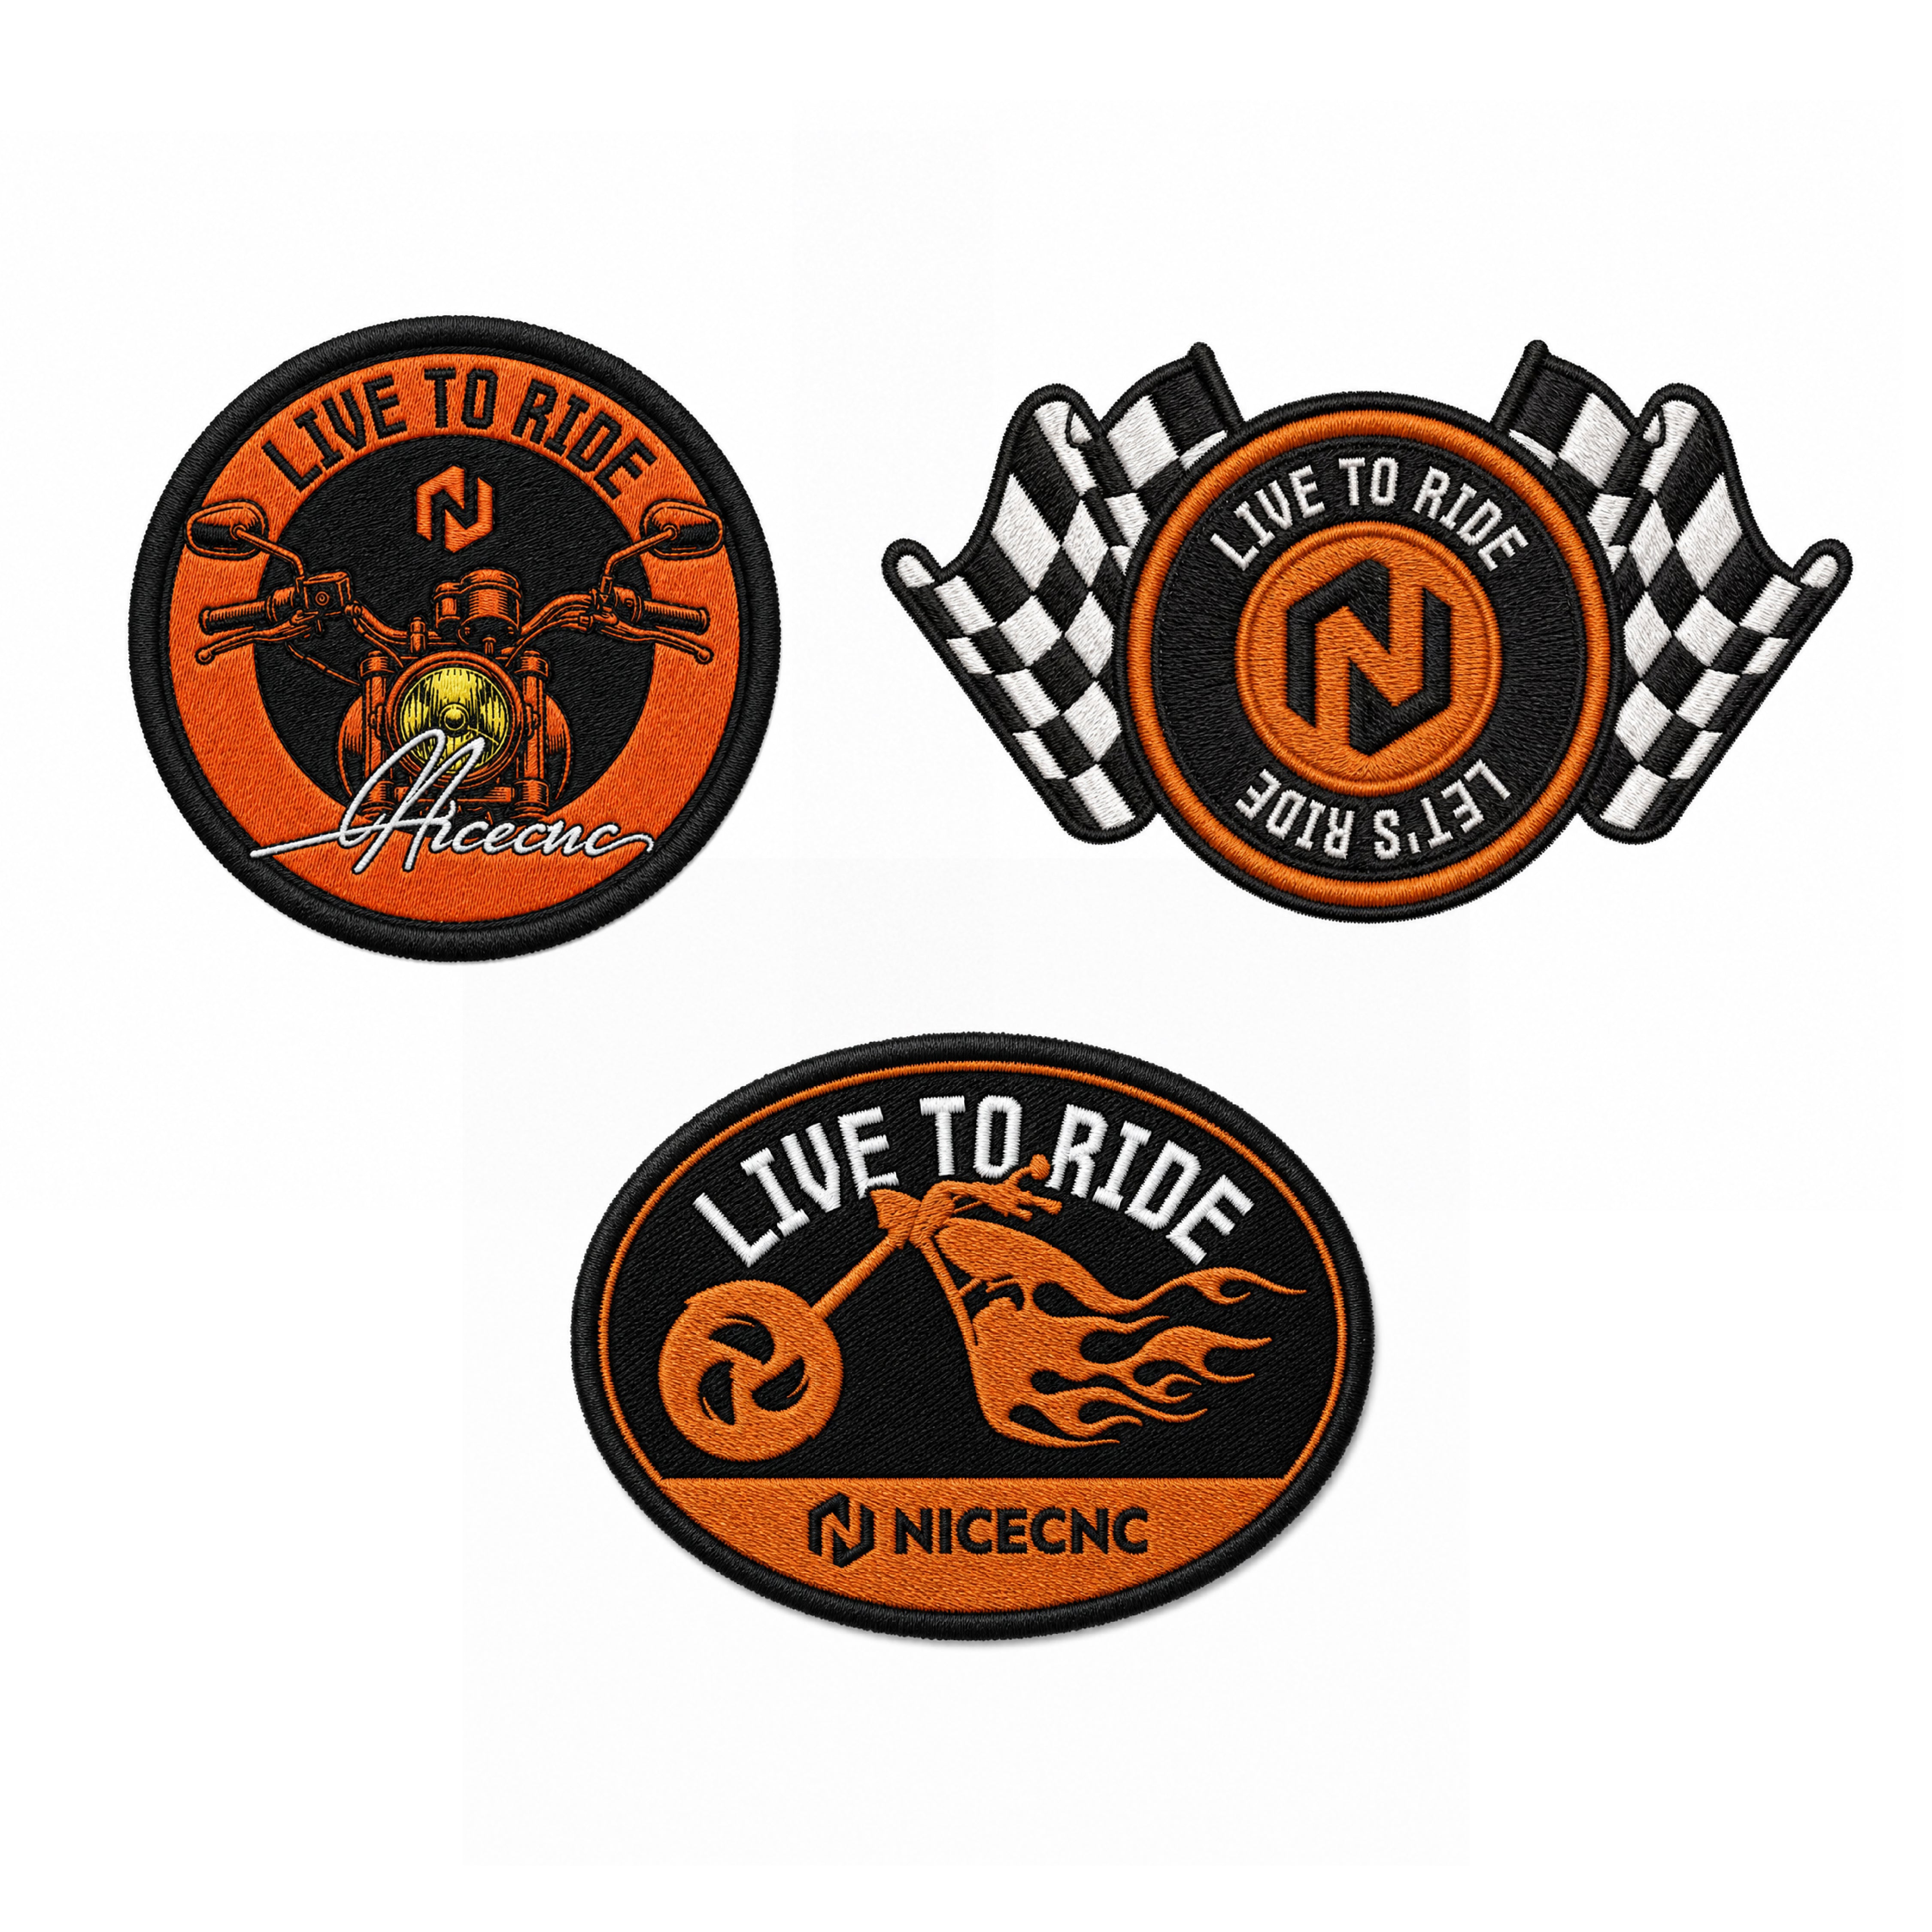
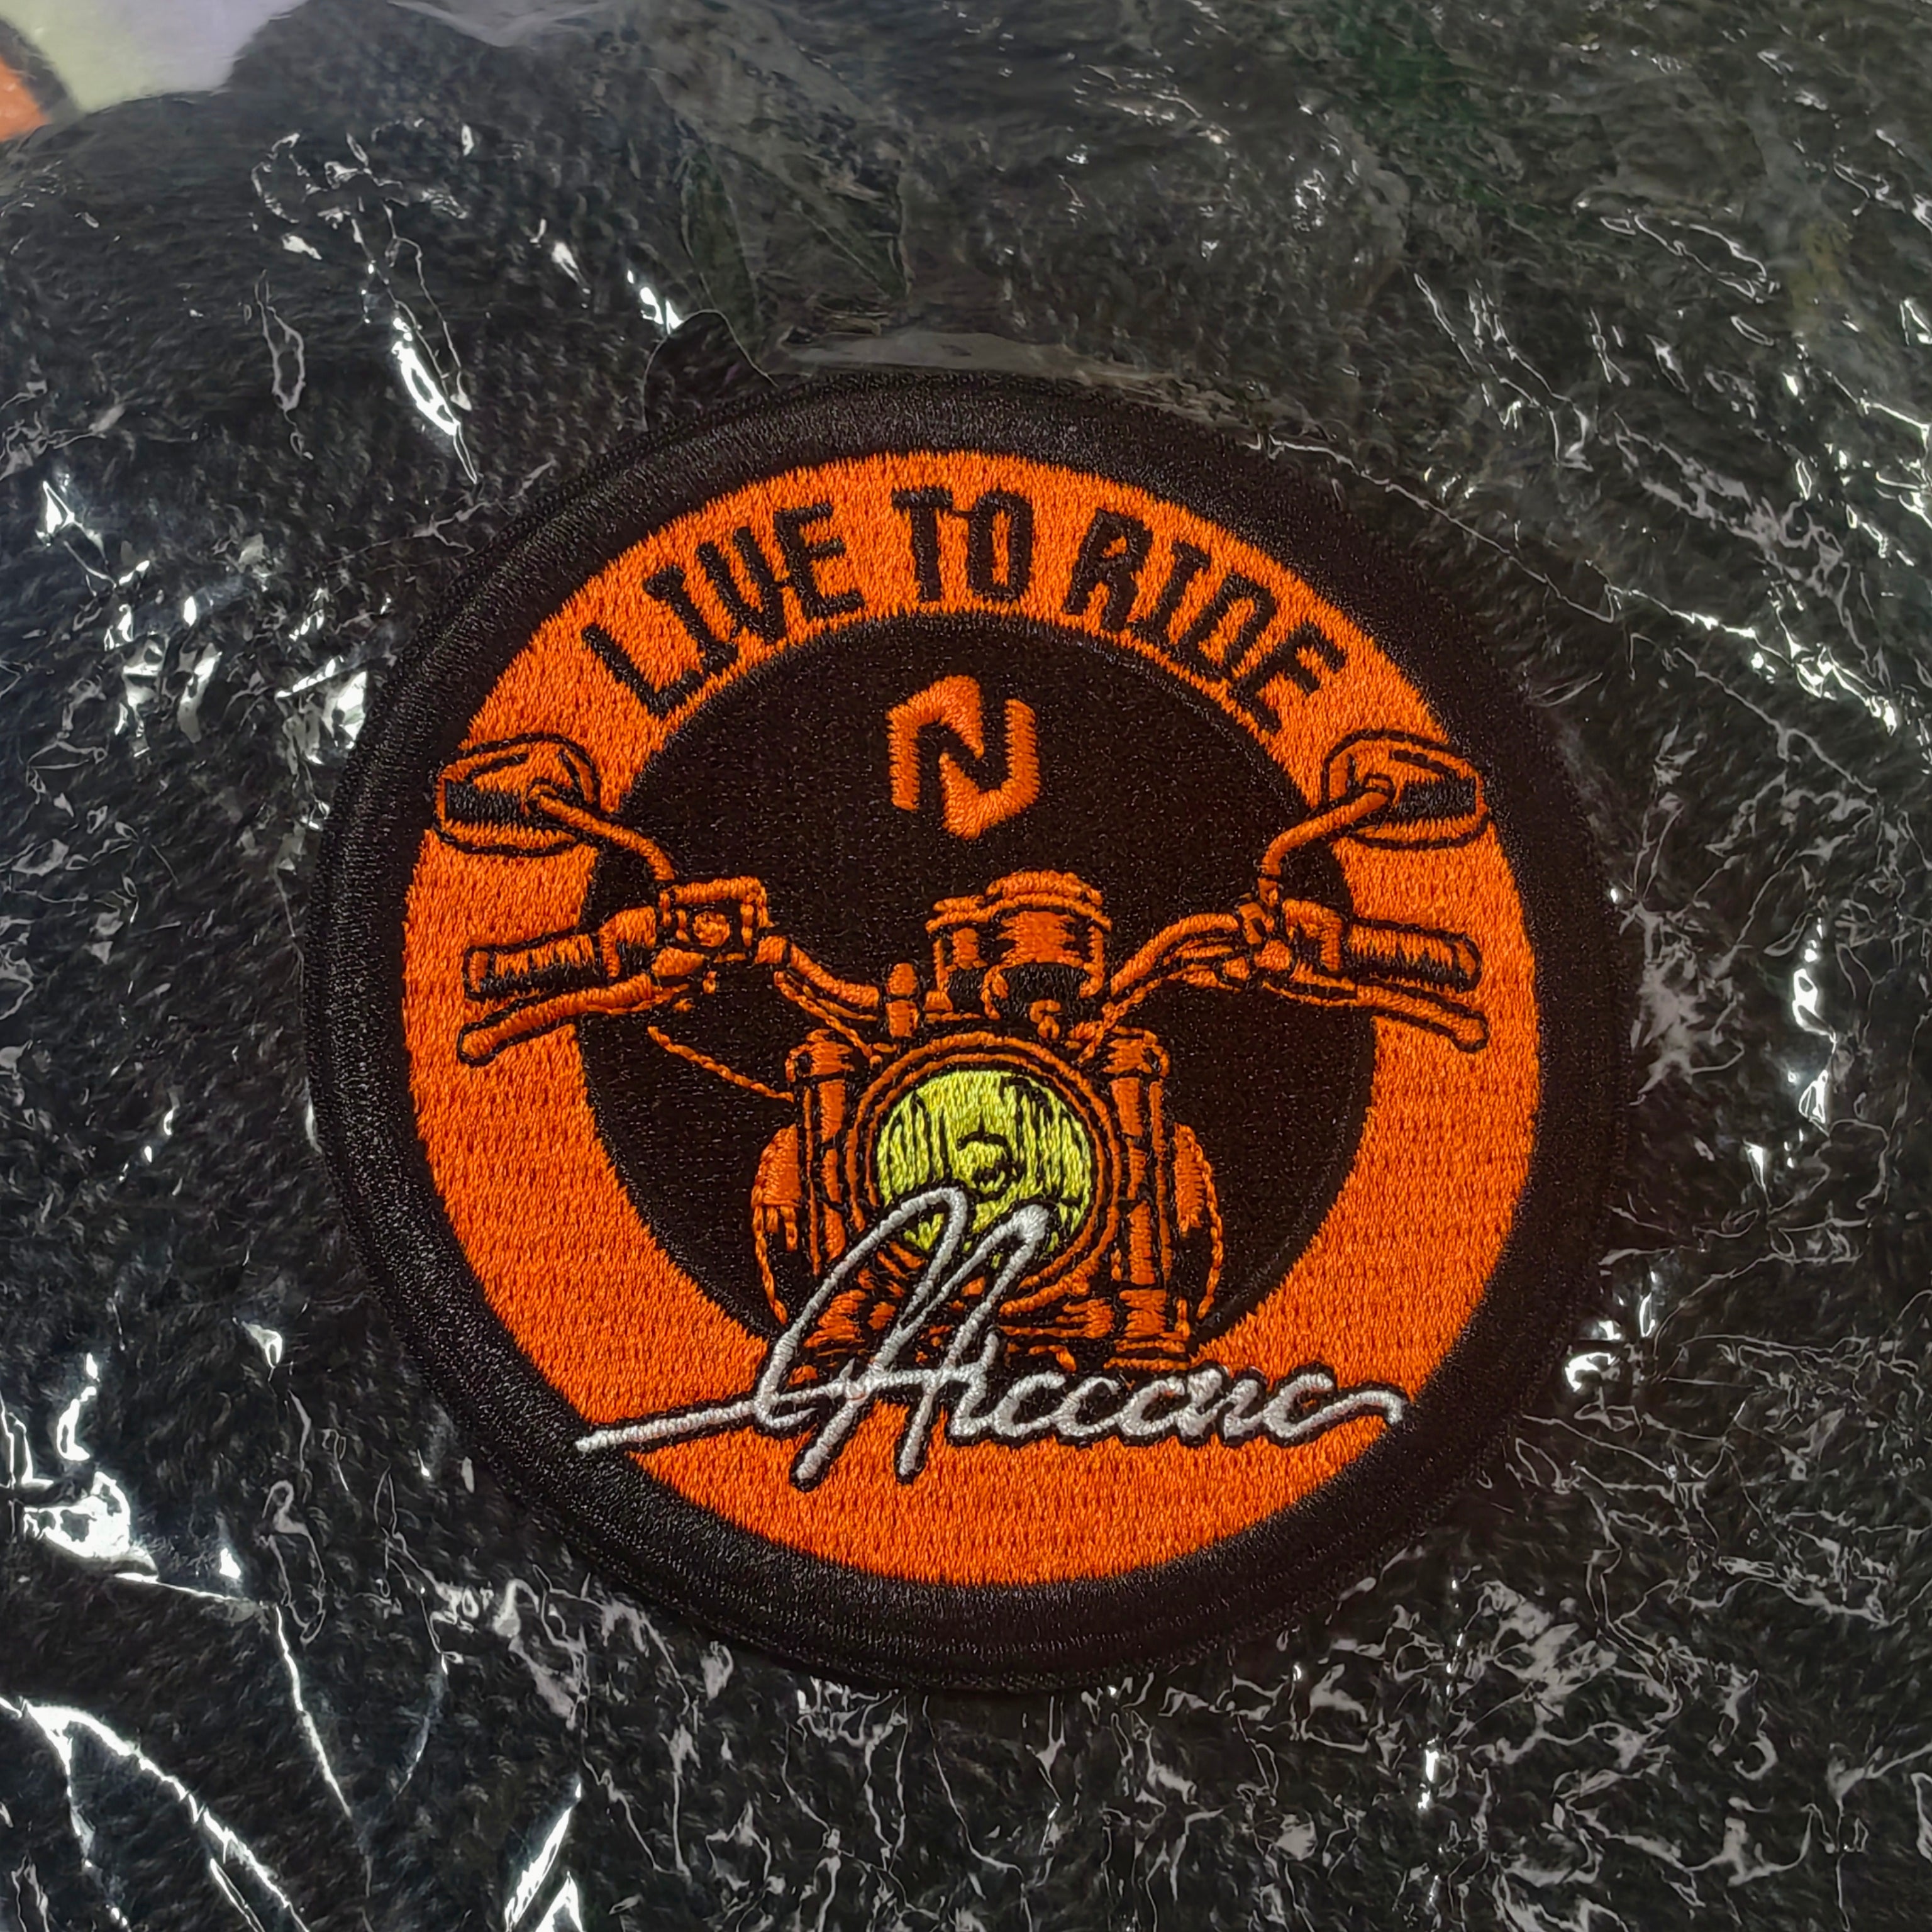
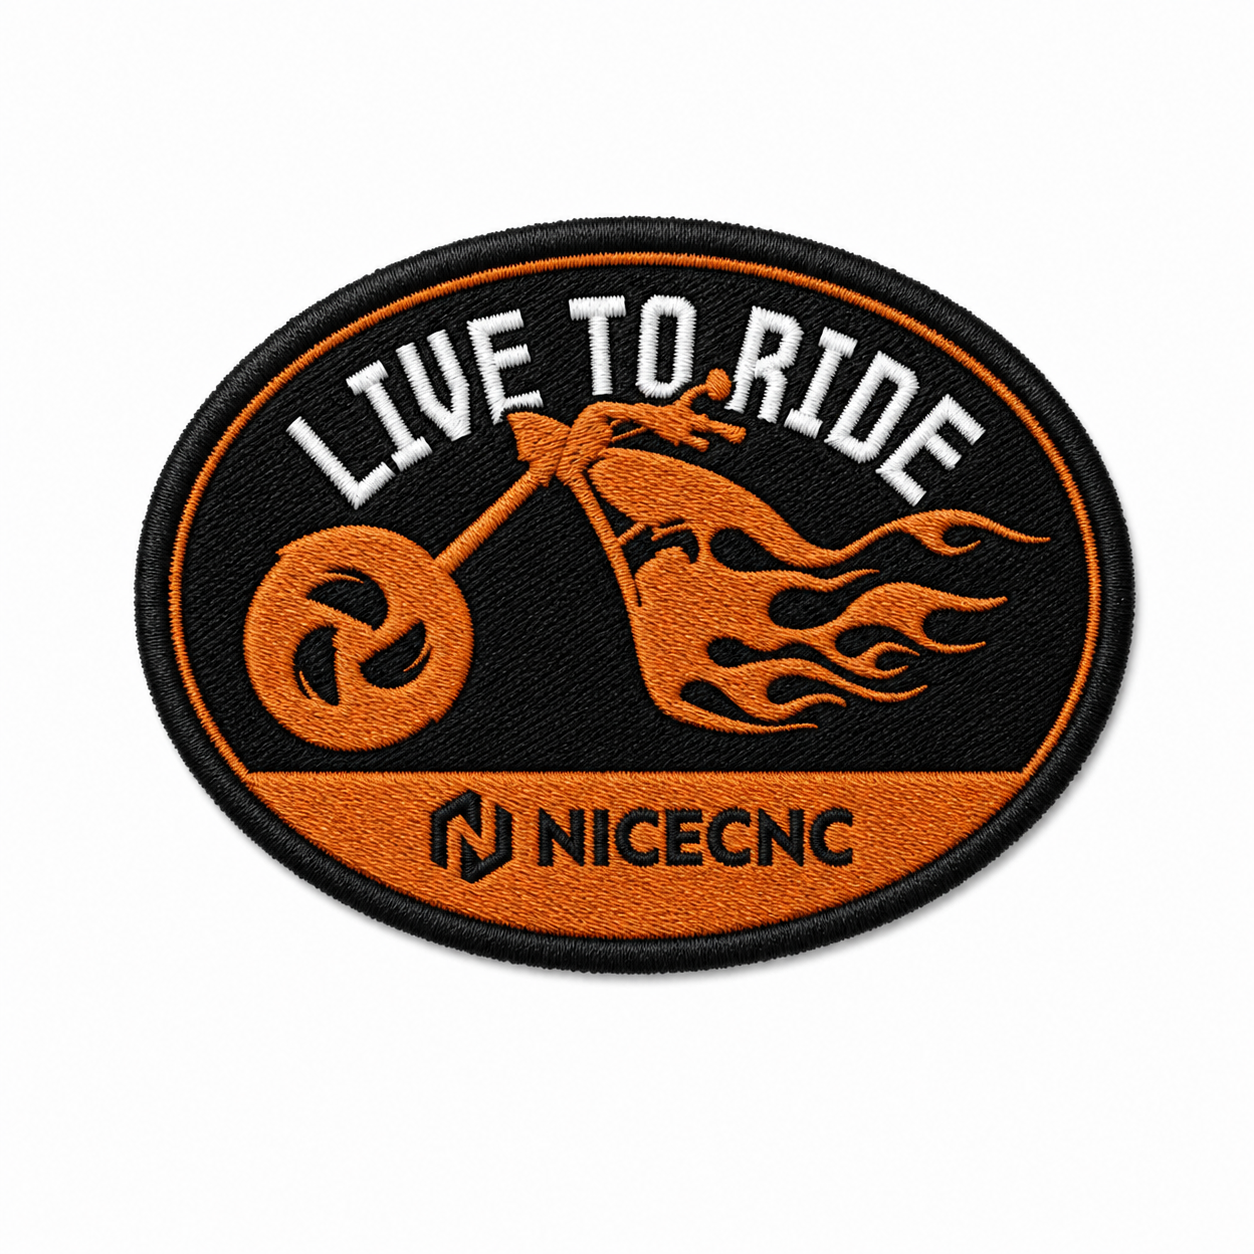
Elevate your gear with classic "Live to Ride" motifs. Featuring high-density 3D embroidery with vibrant, fade-resistant threads, these patches capture the bold, free-spirited aesthetic of motorcycle culture. -
DUAL-APPLICATION (IRON-ON & SEW-ON)
Equipped with heavy-duty heat-seal adhesive backing for quick 15-second iron-on application. Finished with durable marrowed edges for optional stitching, ensuring your patches stay locked down at high speeds. -
UNIVERSAL GEAR DIY
Perfectly sized for customizing leather vests, denim jackets, riding hoodies, tactical backpacks, tool bags, and caps. Give old gear a custom overhaul or cover up wear and tear in seconds. -
COMPLETE 3-PIECE SET
Includes three distinct, complementary rider-themed designs in one pack—giving you versatile layout options for your chest, sleeves, back, or luggage.
Item Specifications:
- Brand: Nicecnc
- Size: 80*80mm / 80*59.7mm / 110mm*63.4mm
- Quantity: 3 pieces per set
Iron-On Application Guide:
- PREP: Set iron to COTTON setting (150°C–160°C / 300°F–320°F). Turn off steam. Pre-heat fabric area for 10 seconds.
-
PRESS: Place patch on desired spot, cover with a thin cotton cloth, and press firmly down for 15–20 seconds.
-
SECURE: Turn garment inside out and press the back of the patch area for another 10–15 seconds. Let cool completely.
(Note: For heavy leather, nylon, or rain gear, sewing is recommended).
Sew-On Application Guide:
- POSITION & PIN: Place the patch on your garment and secure it in place using fabric pins or a piece of painter's tape to prevent slipping.
- THREAD THE NEEDLE: Use heavy-duty polyester or nylon thread (matching the edge border color) and a sharp leather/heavy-fabric needle.
- STITCH THE EDGES: Sew around the inner edge of the reinforced border using a straight stitch or whipstitch. Lock the thread on the inside of the garment with a double knot